Integrate a modern cookie banner in Magix Webdesigner, alternatively Xara Webdesigner, as the programme is also called.
Creating the cookie banner
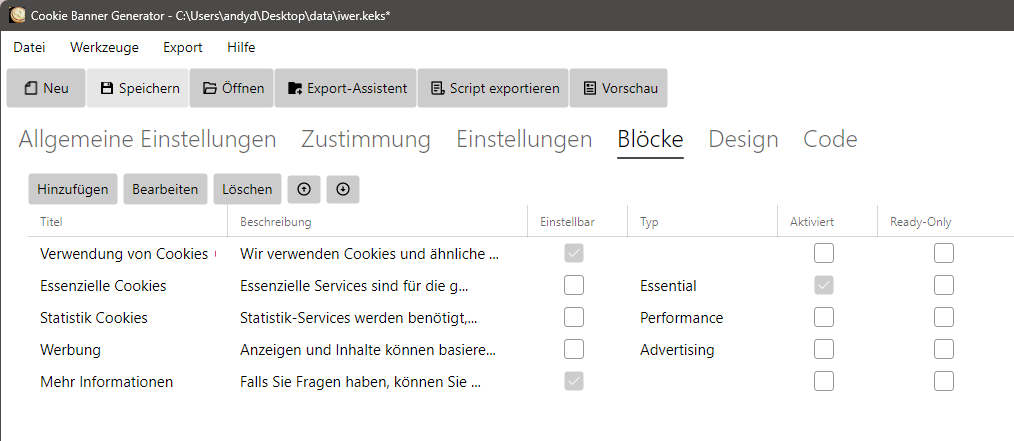
Let’s start by creating the cookie banner. For this we use the “Cookie Banner Generator“. You can download it here for free. Here we set up the services, then the software can create the Java script code for our website.
Before we continue, we recommend using the preview to check whether everything fits and the cookie banner is displayed and shown correctly.
Insert code in head and body area
Let’s start by inserting the scripts that we will have generated later. We call up the export assistant in the software. Here we enter the base URL, i.e. the address of our homepage. We pay attention to the “/” at the end.

Integration in Magix / Xara web designer
In the example above, we see the code for the head area and body area. We copy this code and paste it into our website. To do this, we call up the web properties.
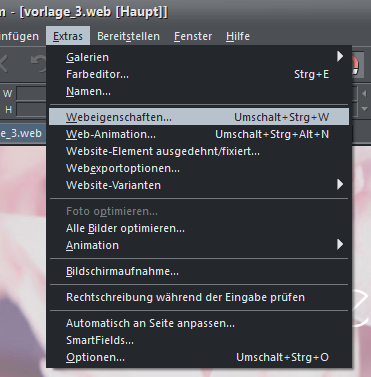
In the “Website” tab, we can now edit and insert the code for the body and head respectively.

Export script and FTP upload
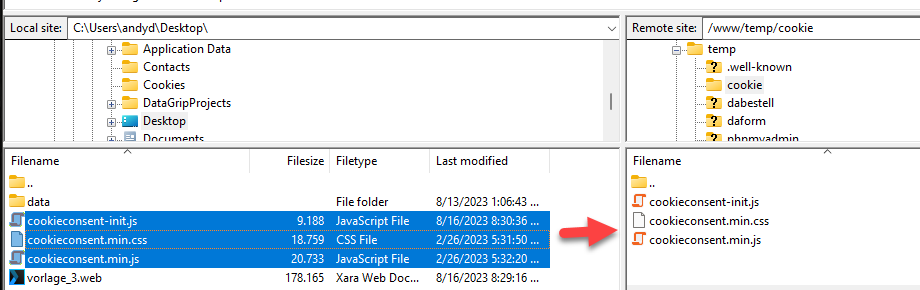
We switch back to the cookie banner generator. Here we click on “Export script”. We now select the destination here. The software now creates three files for us. We transfer these to our web space using an FTP programme.
Publish homepage
Now we just need to publish our homepage. The cookie banner should now appear.
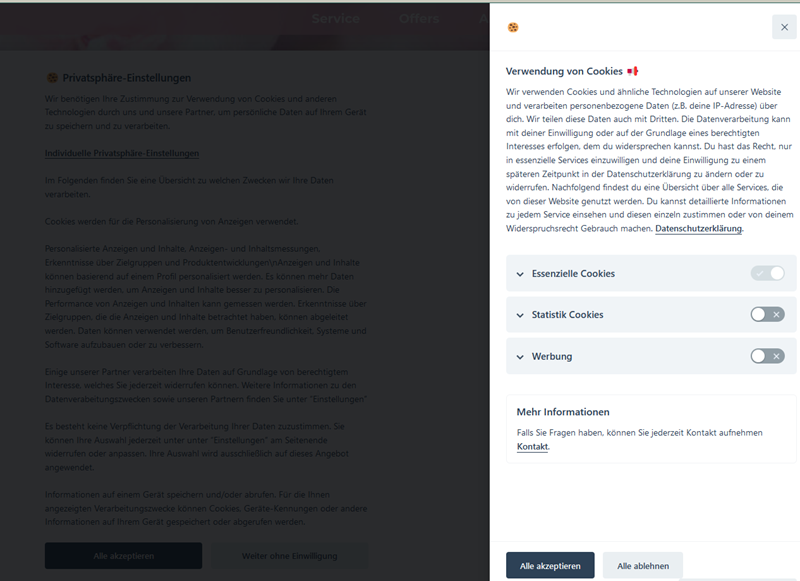
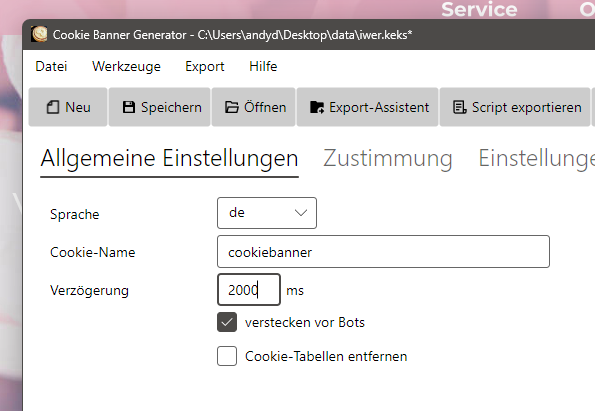
Cookie banner appears briefly and disappears again
Depending on the template, you may have problems with the banner appearing briefly but disappearing automatically. In this case it helps to increase the delay. As a rule, 2000 ms is a good value.